
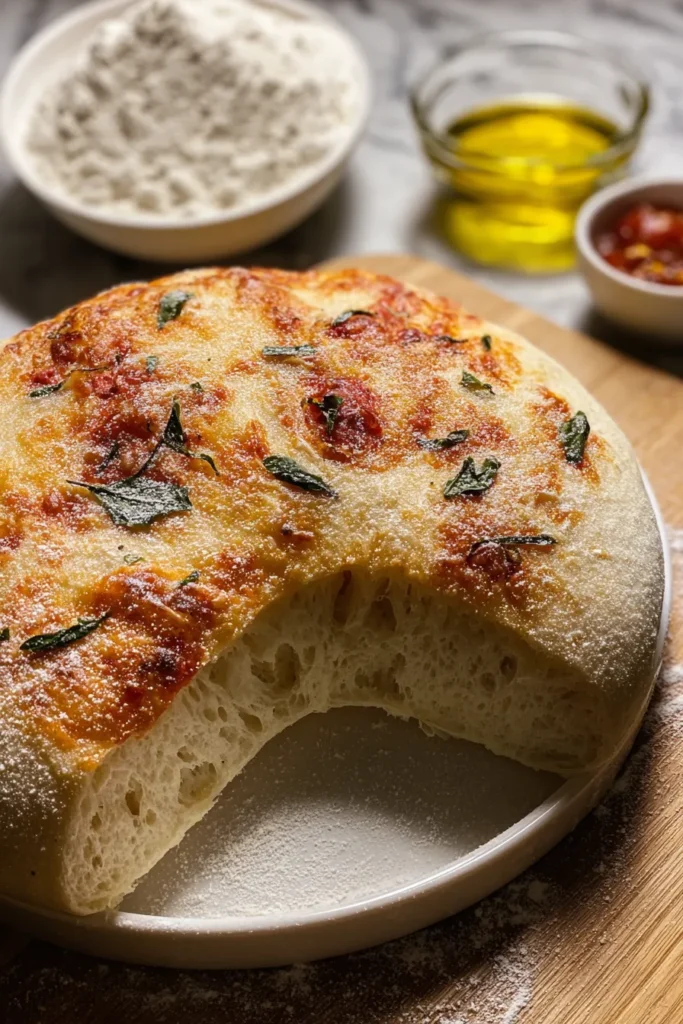
There’s something unexpectedly thrilling about taking a handful of simple ingredients—flour, water, yeast, salt, sugar, and olive oil—and transforming them into a soft, chewy canvas for your favorite pizza toppings. When you knead the mixture beneath your fingertips, you’re not just working dough; you’re forging the foundation for a dinner that’s bursting with flavor and personality. This artisan pizza dough promises a homemade pizza experience like no other, where each bite delivers a delightful interplay of crisp edges and pillowy centers. In just 20 minutes of active preparation, and with a total rest time of about 1 hour and 30 minutes, you’ll have enough dough for two to four pizzas, depending on how hungry your crew is. Whether you’re rolling it out thin for a classic New York–style slice or stretching it into a thicker, bready crust, this recipe offers the versatility and satisfaction that comes from true Italian cooking right in your own kitchen.
As a beginner-friendly dough, it’s perfect for home cooks who want to dive into baking without feeling overwhelmed. The recipe yields about eight servings and clocks in at around 150 calories per slice, making it an ideal course for dinner or lunch. You’ll be amazed at how the simple addition of a slow, cold fermentation (if you choose to refrigerate the dough for 24–48 hours) can add layers of complexity and tangy depth to every mouthful. And if you’re craving a nuttier flavor, swapping some of the all-purpose flour for whole wheat can give your crust a lovely rustic bite. Whether you plan to top it with gooey mozzarella, vibrant basil leaves, caramelized onions, or anything else that sparks joy, this artisan dough is the foundation you’ve been waiting for.
To craft the perfect pizza dough, each ingredient plays a pivotal role in achieving that coveted balance of softness, chewiness, and flavor. From the backbone of flour to the gentle fizz of yeast, here’s what you need to get started:
Provides the structure and gluten network that gives the dough its elasticity and chew. Dusting more on your work surface prevents sticking as you knead and stretch.
Activates the yeast and helps dissolve the sugar and salt evenly. The ideal temperature (around 110°F/45°C) ensures the yeast becomes frothy without being killed by excessive heat.
Enhances the flavor of the dough and helps regulate yeast activity. Salt also strengthens the gluten strands, contributing to the final texture.
Feeds the yeast, promoting a vigorous rise and a subtle sweetness that balances the savory crust. It also helps achieve a golden-brown color during baking.
The leavening agent that creates air bubbles, making the dough light and airy. Ensure it’s fresh and frothy before mixing it into the flour.
Adds richness, tenderness, and flavor to the dough while preventing it from sticking. A little extra oil greasing your bowl helps the dough rise without drying out.
Now let’s walk through the step-by-step process of bringing these ingredients together. This simple yet rewarding method will guide you from a frothy yeast mixture to dough that’s ready for shaping, topping, and baking into a golden masterpiece.
1. In a small bowl, combine the warm water, sugar, and yeast. Gently stir and let it sit for about 5 minutes until it becomes frothy, indicating the yeast is alive and active.
2. In a large mixing bowl, whisk together the flour and salt. Create a well in the center, then pour in the yeast mixture and olive oil.
3. Stir the mixture with a wooden spoon until a rough dough forms, making sure no dry bits of flour remain.
4. Transfer the dough to a well-floured surface. Knead by hand for 8–10 minutes until the dough is smooth and elastic. Alternatively, use a stand mixer fitted with a dough hook for about 5–7 minutes.
5. Shape the dough into a tight ball and place it in a lightly oiled bowl. Turn the dough to coat it in oil, then cover the bowl with a damp cloth or plastic wrap.
6. Let the dough rise in a warm, draft-free spot for 1 to 1½ hours, or until it doubles in size.
7. Punch down the risen dough to release excess gases. Turn it out onto a lightly floured surface and divide into 2 or 4 portions, depending on your pizza size preference.
8. Roll each portion into a ball, cover with a clean towel, and let them rest for 15–20 minutes to relax the gluten.
9. Preheat your oven to its highest setting (around 475°F/245°C) and place a pizza stone or baking sheet inside to heat.
10. On a floured surface, roll out each dough ball to your desired thickness. Add your favorite toppings.
11. Carefully transfer the pizza onto the preheated stone or baking sheet and bake for 8–12 minutes, or until the crust is golden and crisp.
12. Remove from the oven, slice, and serve hot for the ultimate homemade pizza experience.
Once your artisan pizza crust is baked to perfection, the real fun begins: serving it up in ways that excite your taste buds and your guests. Whether you’re hosting a casual weeknight dinner or a cozy movie night, these ideas will elevate your homemade pizzas to restaurant-quality dishes. Play with bold contrasts in flavor, textures, and temperatures to create memorable combinations that will have everyone reaching for another slice.
Keeping your dough fresh and flavorful between preparations is key to enjoying artisan pizza on demand. Whether you plan to use your dough within a day or stash it away for longer, these storage methods will preserve its texture and taste without sacrificing quality. Proper storage also allows the dough to continue developing in flavor, especially when using the cool, slow-fermentation method in the fridge.
From the very first stir of yeast and water to pulling a golden, crackling crust from your oven, this artisan pizza dough recipe turns simple kitchen staples into something truly special. You’ve learned how to harness the magic of yeast, the structure of flour, and the richness of olive oil to create a dough that’s soft yet sturdy, chewy yet crisp. With 20 minutes of prep time, a little hands-on kneading, and an hour or so of resting time, you’ll have enough dough to feed a hungry crowd. Whether you stick to the classic version or experiment with whole wheat flour or added herbs, this foundation allows for endless creativity in your home kitchen. And remember, you can always let the dough rest in the refrigerator for an extended, slow fermentation that deepens its flavor and texture. Be sure to print this article and save it for later—having a physical copy in your recipe binder means you can keep it handy every time you’re ready to bake.
We’ve covered key ingredients, step-by-step instructions, serving suggestions, and storage tips, all tailored for beginner cooks looking to make pizza night a celebration. Don’t hesitate to explore different toppings, from spicy pepperoni to roasted vegetables or even a dessert-style pizza with Nutella and fruit. If you have questions about the techniques, feedback after trying the recipe, or simply want to share your pizza creations, please leave a comment below. Feel free to ask anything—whether it’s about adjusting hydration levels, perfecting your kneading technique, or troubleshooting a dough that’s too sticky or too dry. We’d love to hear your stories, tips, and questions as you embark on your artisan pizza journey. Enjoy every delicious slice!
This artisan pizza dough is soft, chewy, and bursting with flavor, making it the ideal base for your favorite toppings. Easy to prepare, it transforms ordinary meals into delicious creations.

Hey there, kitchen adventurers! I'm Annie Parker, and welcome to my cozy corner of the internet where homestyle cooking meets creative twists, and every recipe is designed to make your life a little more delicious.