
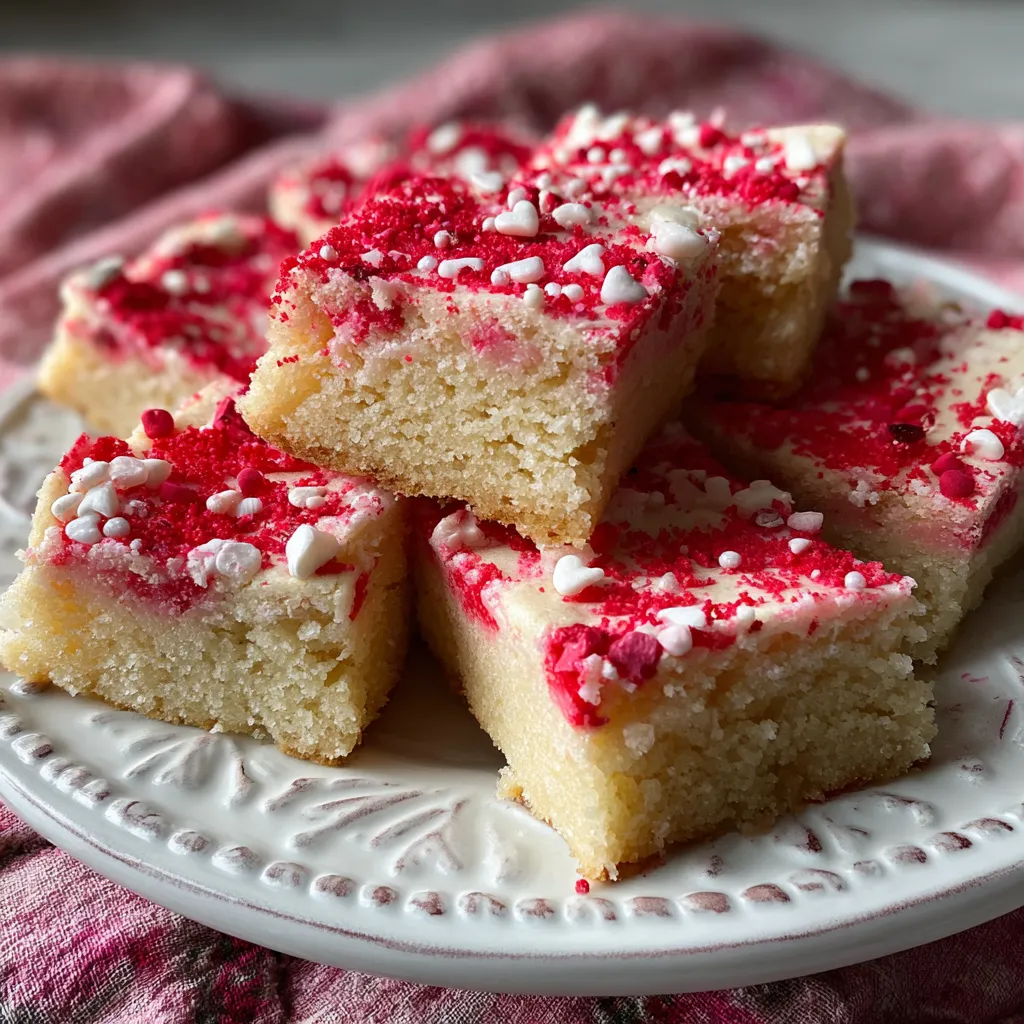
Chewy Valentine Sugar Cookie Bars are the perfect way to share a little love this season. These bars blend buttery sweetness with a hint of vanilla, all tinted rose-red and sparkling with sanding sugar. Soft yet chewy, they’re an effortless treat for beginners and seasoned bakers alike—just grab your ingredients, follow a few simple steps, and watch these festive bars become the centerpiece of any Valentine’s gathering.
Before you get started, let’s assemble everything you need for these chewy delights. Each ingredient plays a key role in building the flavor, texture, and that gorgeous rosy hue.
Baking these bars couldn’t be easier! You’ll start by creating a fluffy, tinted dough, then combine your dry ingredients just until they disappear. Press the dough into your pan, add a final sprinkle of sanding sugar, and bake until set yet soft. Ready to dive in? Here’s the full rundown:
1. Preheat the oven to 350°F and line a 9×13-inch baking pan with parchment paper, leaving an overhang for smooth removal.
2. In a large bowl, cream the softened butter with granulated and brown sugars on medium speed for about 2–3 minutes, until the mixture is light and fluffy.
3. Add eggs one at a time, mixing well after each addition. Stir in the vanilla extract and red food coloring until the dough is evenly tinted.
4. In a separate bowl, whisk together the all-purpose flour, baking soda, baking powder, and salt to ensure even distribution.
5. Gradually add the dry ingredients to the wet ingredients, mixing on low speed just until combined—avoid overmixing to keep the bars chewy.
6. Gently fold in the red sanding sugar using a spatula, making sure every bit of dough sparkles.
7. Transfer the dough to the prepared pan. Use a spatula or lightly floured hands to press it into an even layer, reaching all corners.
8. Sprinkle a little extra red sanding sugar over the top for an added sparkle and festive finish.
9. Bake for 20–25 minutes, or until the edges turn lightly golden and the center is set but still soft to the touch.
10. Let the bars cool completely in the pan. Use the parchment overhang to lift them out, then cut into neat squares.
These Chewy Valentine Sugar Cookie Bars are a breeze to dress up for any occasion. Whether you’re hosting Galentine’s or looking for a sweet classroom treat, here are a few fun ideas to make serving a snap:
Every batch gets better with these insider tweaks! Whether you’re aiming for the cleanest edges or a flavor twist, these notes will help you bake like a pro:
Keeping your sugar cookie bars fresh is key to enjoying that perfect chewy texture. Whether you’re stashing extras for later or prepping for a party, follow these simple storage tips to hold onto flavor and softness.
Have questions? Here are some quick answers to keep you baking with confidence:
-- From start to finish, plan for about 10 minutes to gather ingredients, 5 minutes to cream sugars and butter, another 5 minutes to mix dough, 20–25 minutes to bake, and 20–30 minutes to cool—roughly one hour total.
-- Chill the pan with the pressed dough in the refrigerator for 15 minutes before baking. After baking and cooling, use the parchment-paper overhang to lift the slab onto a cutting board, then slice with a sharp knife, wiping it clean between cuts.
-- You’ll see lightly golden edges and a set center that’s still soft. If the center jiggles noticeably, bake 2–3 minutes longer. Avoid overbaking to keep them chewy.
-- Once cooled, store bars in an airtight container at room temperature for up to 3 days. To extend shelf life, freeze squares in a freezer-safe bag for up to one month and thaw before serving.
-- Yes. Press the dough into the pan, cover tightly, and refrigerate overnight. When ready, remove the wrap and bake as directed. Baked bars can also be frozen and thawed later.
-- Swap red sanding sugar for pink or white varieties, add heart-shaped sprinkles, or drizzle melted white or dark chocolate for extra flair. For a gluten-free version, use 1-to-1 gluten-free flour.
These Chewy Valentine Sugar Cookie Bars hit all the right notes: buttery sweetness, a tender yet chewy bite, and that playful sparkle from sanding sugar. They’re beginner-friendly, fuss-free, and endlessly customizable—perfect for whipping up last-minute treats or planning ahead. Go ahead, print this recipe, save it for later, and let me know how your bars turn out! Questions, feedback, or love notes are always welcome—here’s to sweet moments and even sweeter bars!
Buttery-sweet cookie dough turns into soft, chewy bars with a hint of vanilla and a pop of red crunch. Each bite melts on your tongue, offering a playful sparkle from the sanding sugar.

Hey there, kitchen adventurers! I'm Annie Parker, and welcome to my cozy corner of the internet where homestyle cooking meets creative twists, and every recipe is designed to make your life a little more delicious.