
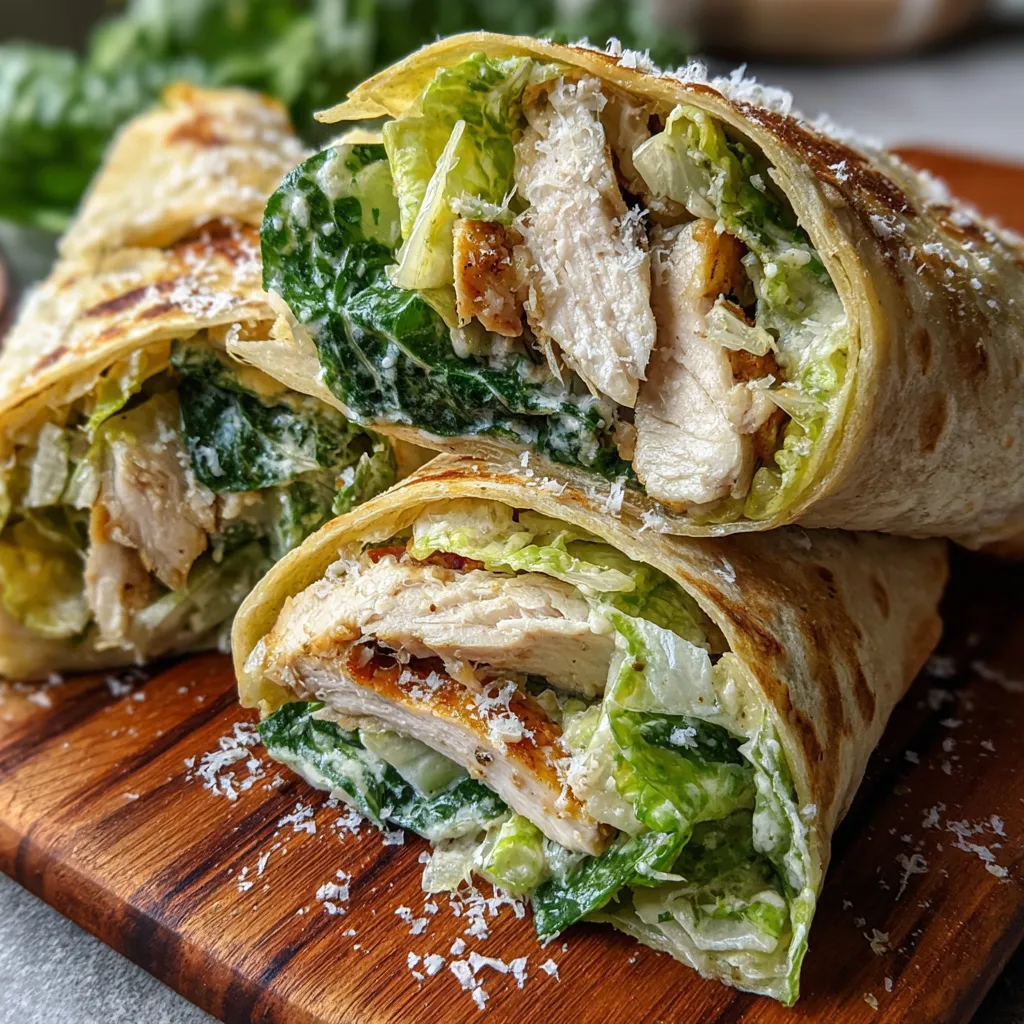
Whether you’re craving a quick lunch or a satisfying dinner, the Chicken Caesar Wrap delivers golden-seared chicken nestled in warm tortillas, crisp romaine lettuce, tangy Caesar dressing, and a sprinkle of Parmesan that melts into every bite. Warm tortillas hugging seared chicken, crunchy greens, and creamy sauce make this handheld meal pop with crunch and creaminess. This easy, beginner-friendly wrap brings restaurant flair to your kitchen in under 30 minutes—no fancy equipment required.
Gather these simple ingredients for a fuss-free Chicken Caesar Wrap that’s full of flavor and texture.
Transforming your ingredients into a mouthwatering Chicken Caesar Wrap is easier than you think. From preheating the skillet to layering the fillings, each step is designed to deliver juicy chicken, warm tortillas, and perfectly melded flavors. Follow these instructions closely to achieve a gorgeous golden sear on the chicken, crisp lettuce, and a satisfying handheld meal that’s ready in a flash.
1. Preheat a skillet over medium heat, allowing it to reach a stable temperature for a perfect sear.
2. Season the chicken breasts with salt and pepper, coating each side evenly for balanced flavor.
3. Add the olive oil to the skillet and cook the chicken for 5–7 minutes on each side until golden brown and cooked through.
4. Remove the chicken from the skillet and let it rest for 5 minutes, then slice it thinly against the grain for tender bites.
5. Warm each tortilla in the skillet for about 10 seconds per side to make them pliable and lightly toasted.
6. Spread a layer of Caesar dressing down the center of each tortilla, ensuring even coverage for every bite.
7. Top the dressing with chopped romaine lettuce, sliced chicken, and grated Parmesan cheese, building flavor in every layer.
8. Roll each tortilla tightly into a wrap, slice in half on a diagonal, and serve immediately for best texture.
These wraps are so versatile—they shine at casual weeknight dinners, office lunches, or outdoor picnics. Pair them with complementary sides and drinks to turn this simple hand-held meal into a full spread. Here are four serving ideas to elevate your Chicken Caesar Wrap experience:
Achieving the ideal Chicken Caesar Wrap is all about smart shortcuts and creative add-ins. Use leftover chicken to speed up the process without losing flavor, and think about textures—extra crunch from croutons or crispy bacon can elevate this simple wrap to something unforgettable. Foil wrapping isn’t just for packing; it helps keep everything warm and intact, perfect for picnics or kids’ lunchboxes. Below are a few notes to keep in your back pocket next time you’re rolling up these tasty bundles.
Storing your Chicken Caesar Wrap properly ensures you can enjoy its flavors even days later. The key is to prevent moisture buildup and preserve that crisp lettuce. Whether you’re saving leftovers for lunch tomorrow or prepping for a busy workweek, these storage methods will help maintain taste and texture.
Got questions? Here are answers to the most common queries about making and enjoying your Chicken Caesar Wrap.
The total time is about 25–30 minutes, which includes 5 minutes for seasoning and heating the skillet, 10–14 minutes to cook the chicken breasts, 5 minutes of resting and slicing the chicken, a few seconds to warm each tortilla, and 5 minutes to assemble the wraps.
Yes, using leftover grilled chicken is a great shortcut. Simply slice the cooked chicken from your grill, warm it briefly in the skillet if you prefer it hot, and proceed with the assembly steps—this can cut prep and cook time down by about 10–12 minutes.
To keep the wraps crisp, layer the dressing closest to the chicken rather than the tortilla, wrap them tightly in aluminum foil, and store them upright so air circulation is limited. For packed lunches, assemble just before eating, or place a small container of dressing and add it just before serving.
You can add crispy bacon strips for a smoky flavor, sprinkle in toasted croutons for extra crunch, swap romaine for baby kale or mixed greens, or stir in a teaspoon of lemon juice to the Caesar dressing for a brighter tang.
Absolutely. A simple homemade Caesar dressing combines ¼ cup mayonnaise, 1 teaspoon Dijon mustard, 1 minced garlic clove, 1 tablespoon lemon juice, 2 tablespoons grated Parmesan, salt, and pepper to taste. Drizzle this mixture in place of store-bought dressing for a fresher flavor.
Use a dry skillet over medium-low heat, place each tortilla flat for about 8–10 seconds per side, then remove and stack them under a clean cloth to retain moisture. Avoid high heat to prevent charring or tearing.
Season both sides, sear in preheated oil for 5–7 minutes each side until the internal temperature reaches 165°F (74°C), then remove the chicken and let it rest for 5 minutes. Resting allows the juices to redistribute, keeping the meat tender and juicy.
This Chicken Caesar Wrap stands out because it merges classic Caesar flavors with the ease of a hand-held meal. Crisp romaine, sun-warmed tortillas hugging juicy chicken, that creamy dressing, and Parmesan combine in every bite for an irresistible texture and taste. The best part? You can tweak it to your liking—add bacon, croutons, or extra lemon juice—and still keep things quick and simple. Save or print this recipe for your next lunch rush or weekend picnic, and let us know in the comments how your wrap turned out or if you have any fun twists of your own!
Grilled chicken breasts seared to golden perfection mingle with crunchy romaine and creamy Caesar dressing, all nestled in a soft tortilla that melts together in every savory bite.

Hey there, kitchen adventurers! I'm Annie Parker, and welcome to my cozy corner of the internet where homestyle cooking meets creative twists, and every recipe is designed to make your life a little more delicious.