
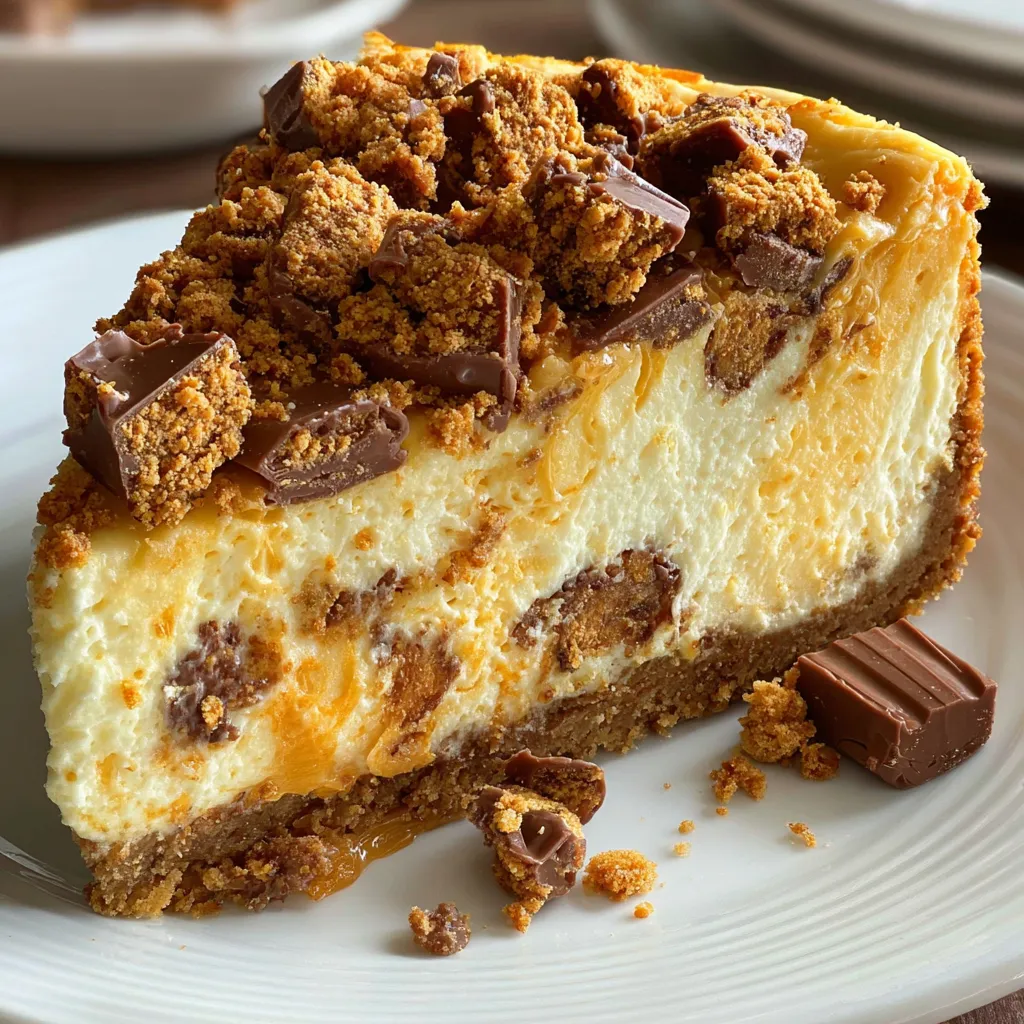
If you’re craving a nostalgic candy crunch in a luxuriously creamy dessert, Decadent Creamy Baked Butterfinger Cheesecake is your dream come true. A buttery graham base meets velvety cream cheese swirled with crunchy Butterfinger shards for a cheesecake that shimmers with sweet, golden nostalgia. Baked to a tender jiggle, it cools into an ultra-smooth masterpiece that crackles under each forkful with caramel-chocolate crunch. It’s the perfect centerpiece for celebrations or simple weeknight treats—let’s dive in and share this sweet indulgence!
Get ready to gather everything you need—each of these ingredients plays a starring role in crafting the perfect balance of creamy, crunchy, and sweet.
Now that your ingredients are lined up, let’s transform them into the creamiest, crunchiest cheesecake you’ve ever tasted. From pressing that golden crust to folding in Butterfinger bits and mastering the gentle bake-and-cool method, these steps will guide you to cheesecake perfection.
1. Preheat your oven to 325°F (160°C) and generously butter a 9-inch springform pan to ensure the cheesecake releases easily.
2. In a medium bowl, combine the graham cracker crumbs, 1/4 cup granulated sugar and melted butter, then press the mixture firmly into the bottom of the prepared pan to form an even crust.
3. Bake the crust for 10 minutes, then remove from the oven and allow it to cool while you prepare the creamy filling.
4. In a large mixing bowl, beat the softened cream cheese and 1 cup granulated sugar on medium speed until smooth and creamy, scraping down the sides as needed.
5. Add the sour cream, heavy cream and vanilla extract, then continue mixing until the batter is well incorporated and ultra smooth.
6. Add the eggs one at a time, mixing on low speed just until each egg is fully incorporated—overmixing can introduce air and cause cracks.
7. Gently fold in 1 cup chopped Butterfinger candy using a spatula, reserving the remaining 1/2 cup for the topping.
8. Pour the filling over the cooled crust and use a spatula to smooth the top for an even finish.
9. Bake the cheesecake for 55 minutes, or until the edges are set but the center still jiggles slightly when gently tapped.
10. Turn off the oven and leave the cheesecake inside with the door cracked for 1 hour to cool gradually and reduce the risk of cracks.
11. Remove the pan from the oven and chill the cheesecake uncovered on a wire rack for 1 hour, then refrigerate it for at least 4 hours or preferably overnight.
12. Before serving, sprinkle the reserved Butterfinger candy on top and slice with a hot, clean knife for perfect, professional-looking pieces.
This cheesecake is a showstopper on its own, but a few thoughtful finishing touches can elevate each slice into a mini celebration. Experiment with contrasts—fresh fruit, warm sauces or chilled accompaniments—to highlight the creamy texture and crunchy Butterfinger shards. A burst of tangy berries or a velvety caramel ribbon balances sweetness and makes each forkful pop with flavor. Whether you’re hosting a dinner party, brunch gathering or simply treating yourself after a long day, these serving ideas transform ordinary slices into edible works of art that taste as good as they look. Here are a few ways to present this indulgent dessert:
Mastering this cheesecake comes down to a few straightforward but crucial steps. First, give your cream cheese and eggs plenty of time to come to room temperature—this ensures a super-smooth batter without those pesky lumps. When mixing in the eggs, use low speed and stir just until each egg disappears to avoid whipping in air that can lead to cracks. If you’ve ever ended up with a jagged surface, a simple water bath can be your best friend, as it provides gentle, even heat throughout the bake. The post-bake cooling stage is just as important: a gradual temperature drop inside the oven, followed by chilling uncovered and then covered, locks in that signature creamy texture. Finally, whether you’re slicing for snack or serving guests, sharpening and warming your knife between cuts will earn you those clean, magazine-worthy slices every time!
Proper storage keeps your cheesecake creamy, decadent and full of that signature Butterfinger crunch for days on end. After the initial chilling period, it’s crucial to protect the cake from drying out, fridge odors or freezer burn if you’re freezing slices for later. Whether you’re looking to enjoy individual portions over a work week or freeze extras for future celebrations, these tried-and-true methods will help maintain the freshly-baked sheen, silky mouthfeel and crisp candy pieces. Read on for the best ways to stash this crowd-pleaser so each bite tastes as perfect as the day you baked it.
Here are solutions to common cheesecake conundrums—if you have more, just let me know!
Preparation takes about 30 minutes (making and baking the crust, mixing the filling), followed by a 55-minute bake, one hour of cooling in the oven with the door cracked, one hour of uncovered chilling, and at least four hours of refrigeration (or overnight) for a total of about 7½ hours before serving.
Yes. Wrapping the bottom of the springform pan in foil and placing it inside a larger pan filled with hot water about halfway up the sides creates gentle, even heat that reduces the risk of cracks and promotes smooth edges.
Use room temperature ingredients, avoid overmixing when adding eggs, bake at a steady 325°F without opening the oven door, and cool the cheesecake inside with the door cracked for one hour. A water bath further minimizes temperature shock.
Room temperature eggs and cream cheese incorporate more smoothly, preventing lumps and reducing the need for prolonged mixing, which helps maintain a light, creamy texture and minimizes air pockets that can lead to cracks.
Seal the Butterfinger bars in a zip-top bag and gently tap them with a rolling pin until they break into bite-size chunks. Reserve finer crumbs for topping and carefully fold larger pieces into the batter to prevent over-crushing.
Store leftovers in an airtight container in the refrigerator for up to five days. Before serving, let slices sit at room temperature for 15–20 minutes to soften and enhance their creamy consistency.
Run a sharp knife under hot water, wipe it dry, and make each cut in one smooth motion. Reheat and dry the knife between slices to maintain crisp, clean edges.
This Decadent Creamy Baked Butterfinger Cheesecake brings together the best of nostalgic candy crunch and classic cheesecake elegance, creating a dessert that’s both comforting and show-stopping. What really sets it apart? The buttery graham crust, ultra-smooth cream cheese filling, and pockets of Butterfinger shards that crackle with every forkful. The bake-and-cool method ensures a tender jiggle that transforms into a silky finish after chilling. Be sure to print out this recipe and save it for your next celebration—or whenever you need a sweet pick-me-up. Let me know how it turns out or pop a comment if you need any tips!
A velvety cheesecake studded with crisp Butterfinger bits bakes to a tender jiggle, then cools into a luxuriously creamy dessert that crackles under each forkful with caramel-chocolate crunch.

Hey there, kitchen adventurers! I'm Annie Parker, and welcome to my cozy corner of the internet where homestyle cooking meets creative twists, and every recipe is designed to make your life a little more delicious.