
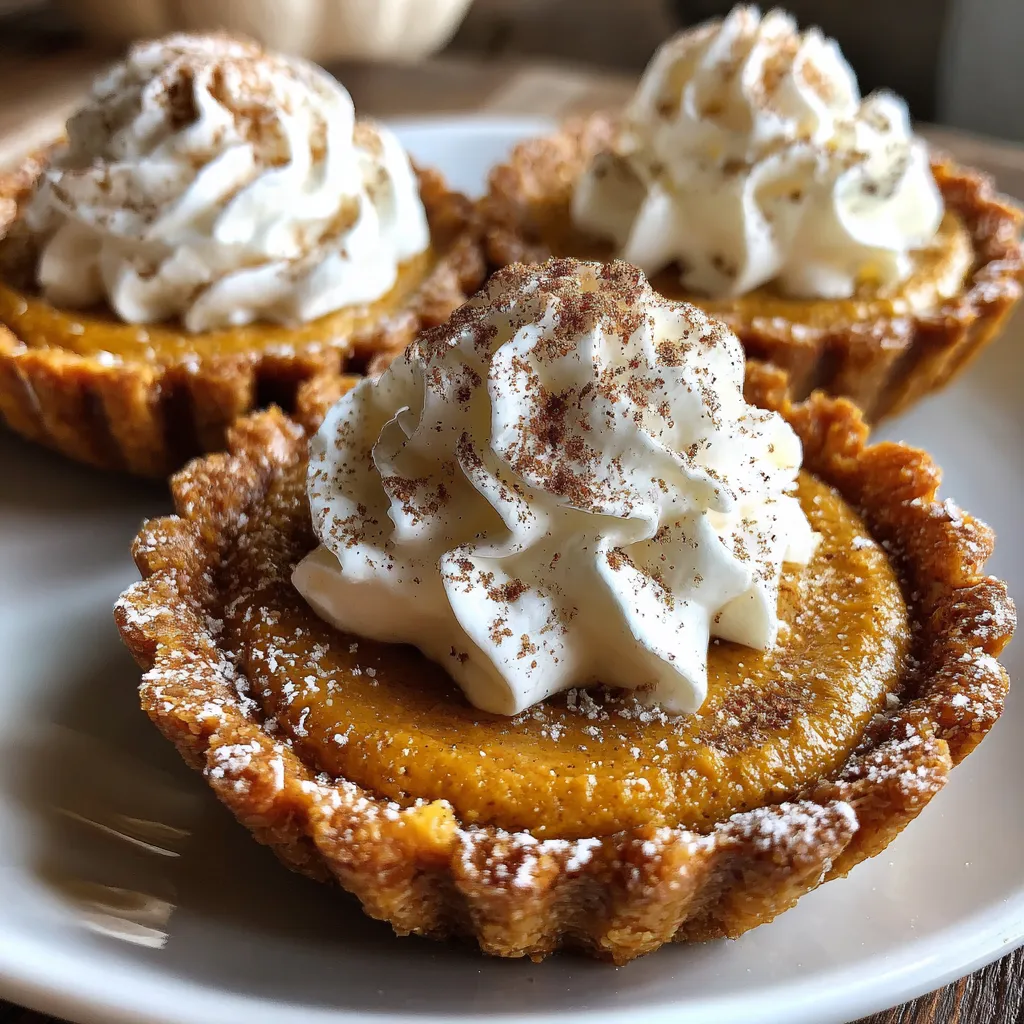
Mini Pumpkin Pie Cups Gluten Free Vegan are the ultimate bite-sized fall indulgence, with crisp almond flour shells holding a velvety pumpkin filling spiced with cinnamon, nutmeg, and ginger. These gluten-free, vegan treats balance nutty crusts and warming spices in every mouthful, perfect for cozy gatherings or solo snacking. Trust me—you’ll be reaching for seconds of these cute, creamy cups in no time!
Here’s what you need to whip up these adorable cups that taste like autumn in every bite:
Creating these mini pumpkin pie cups is simpler than you’d expect, but the steps deliver a professional finish. From forming the perfect almond flour crust to whisking up the smoothest pumpkin filling, you’ll feel like a seasoned baker. Follow each step carefully for crisp shells, a silky center, and cups that hold their shape beautifully.
1. Preheat your oven to 350°F (175°C). Ensuring the oven reaches the right temperature before baking helps the crust set evenly and the filling bake to a smooth finish.
2. In a mixing bowl, combine the almond flour, melted coconut oil, maple syrup, and salt. Stir until the mixture is well incorporated and holds together when pressed, creating a crumbly but moldable dough.
3. Grease a muffin tin with additional coconut oil or line with silicone liners. Press about 2 tablespoons of the almond flour mixture into the bottom and up the sides of each cup, aiming for a uniform 1/4-inch thickness to ensure even baking.
4. Pre-bake the crusts for 10 minutes. This sets the shells so they stay crisp under the moist filling. Remove from oven and let them cool slightly before filling.
5. In another bowl, whisk together the pumpkin puree, coconut milk, maple syrup, vanilla extract, pumpkin pie spice, ground cinnamon, nutmeg, ginger, cornstarch, and lemon juice. Whisk until completely smooth and lump-free.
6. Pour the pumpkin filling evenly into each pre-baked crust, filling the cups almost to the rim for a full, domed look.
7. Bake for an additional 20–25 minutes, or until the filling is set and just firm to the touch—avoid overbaking to keep the filling creamy.
8. Remove the tin and let the cups cool completely in the pan. For the best texture, refrigerate for a few hours or overnight.
9. Serve chilled or at room temperature, and top with coconut whipped cream if desired for an extra luscious finish.
These mini pumpkin pie cups are as versatile as they are delicious. Whether you’re hosting or cozying up solo, here’s how to present them beautifully:
Mastering these cups means fine-tuning small details for that wow factor. With a few friendly pointers based on tried-and-true notes, you’ll nail the texture, flavor, and presentation every time.
Keeping these pumpkin pie cups fresh ensures you can enjoy them throughout the week without losing any flavor or texture. Follow these storage methods for best results:
Here are some quick answers to the most common mini pumpkin pie cup curiosities:
From start to finish, you’ll need about 10 minutes to mix and press the crust, 10 minutes to pre-bake the crusts, 5 minutes to prepare the filling, and 20–25 minutes to bake the filled cups. In total, plan for about 45–50 minutes active time and cooling time before serving.
Yes, you can swap almond flour for other gluten-free nut flours like hazelnut or pecan flour for a different flavor profile. If you use oat flour or a gluten-free all-purpose blend, the crust may be a bit less sturdy, so you might need to add an extra tablespoon of coconut oil or cornstarch to help it bind and hold shape.
Once cooled, transfer the mini pies to an airtight container and refrigerate. They’ll stay fresh for up to 5 days. For best texture and flavor, serve them chilled or at room temperature within that timeframe.
Yes, freeze the cooled pies in a single layer on a baking sheet until firm, then transfer them to a freezer-safe container with parchment between layers. They’ll keep well for up to 2 months. Thaw in the refrigerator overnight before serving.
To reduce sweetness, decrease the maple syrup by 1–2 tablespoons or swap half for unsweetened applesauce. To boost spice, add an extra 1/4 teaspoon of pumpkin pie spice or a pinch of cayenne pepper for warmth. Taste the filling before baking to ensure it meets your preference.
Chill a can of full-fat coconut milk overnight. Scoop out the solid cream into a bowl, leaving any liquid behind. Whip with an electric mixer until fluffy, then sweeten with a teaspoon of maple syrup and a dash of vanilla extract. Dollop on chilled pie cups just before serving.
To make a 9-inch pie, double the crust ingredients and press into a pie pan, pre-baking for 12–14 minutes. Double the filling ingredients, pour into the par-baked crust, and bake at 350°F (175°C) for 35–40 minutes, or until the center is just set and slightly firm to the touch. Let it cool completely before slicing.
These Mini Pumpkin Pie Cups Gluten Free Vegan shine because they pack all the cozy, warming charm of a classic pumpkin pie into a perfectly portable, gluten-free, and dairy-free package. The crisp almond flour shells cradle a luxuriously smooth, spiced pumpkin filling that’s equally delightful served chilled or at room temp. Go ahead and print this article to keep these little cups on hand, then let me know in the comments how they turned out or if you have any questions—I’m always here to help!
Each bite of these mini cups reveals a nutty almond flour crust cradling a creamy pumpkin filling, spiced with cinnamon, nutmeg, and ginger. Serve chilled for a cool, velvety finish, or top with whipped coconut cream for added indulgence.

Hey there, kitchen adventurers! I'm Annie Parker, and welcome to my cozy corner of the internet where homestyle cooking meets creative twists, and every recipe is designed to make your life a little more delicious.