
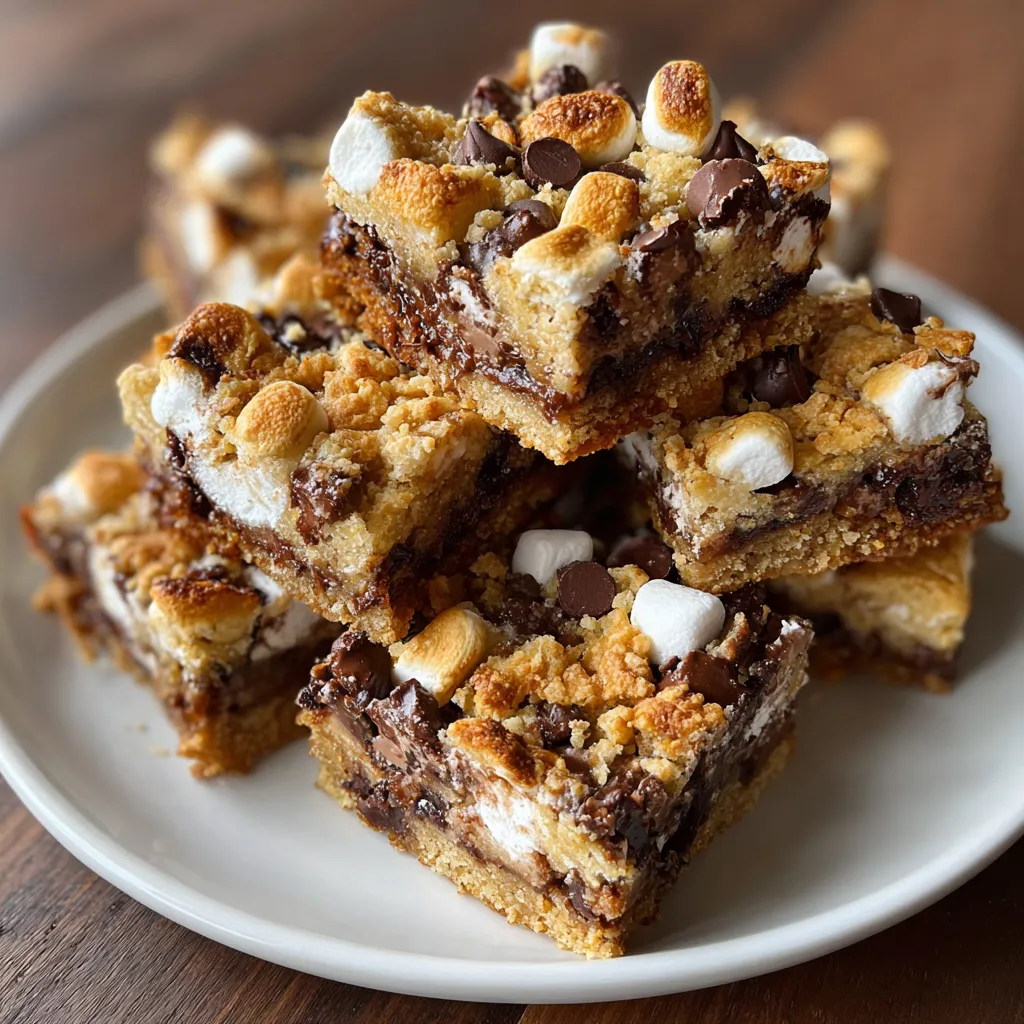
S’mores Cookie Bars deliver gooey marshmallows, melty chocolate, and crunchy graham goodness in every chewy bite. Gooey marshmallows meet melty chocolate and crunchy graham in chewy, shareable bars that bring campfire vibes to your cookie jar. With crunchy edges hugging pillowy marshmallow pockets and ribbons of melted chocolate swirls over a buttery graham-infused base, these bars capture campfire nostalgia and oozy charm—perfect for dessert lovers and beginner bakers alike who want to share a taste of camping magic right from home.
Let’s break down the stars of the show—simple pantry staples that come together to create these irresistible S’mores Cookie Bars:
This recipe is delightfully hands-on but totally beginner-friendly—just cream, mix, fold, press, and bake! You’ll combine your wet ingredients, whisk the dry ingredients separately, then gently bring everything together before pressing into a pan. Once baked, you’ll have golden edges, melty marshmallows, and chocolate swirls that scream “campfire treat.” Ready? Let’s dive into each step.
1. Preheat the oven to 350°F and line a 9x13-inch baking pan with parchment paper, leaving an overhang on two sides for easy removal.
2. In a large bowl, cream together the softened butter, granulated sugar, and brown sugar until light, fluffy, and pale in color—about 3 to 4 minutes.
3. Beat in the eggs one at a time, ensuring each is fully incorporated, then stir in the vanilla extract until smooth.
4. In a separate bowl, whisk together the all-purpose flour, baking soda, and salt to distribute the leavening and seasoning evenly.
5. Gradually add the dry ingredients to the wet mixture, stirring until just combined to avoid overmixing and keep the bars tender.
6. Fold in the graham cracker crumbs, semisweet chocolate chips, and mini marshmallows until they’re evenly distributed throughout the dough.
7. Press the dough firmly and evenly into the prepared pan, smoothing the top with your hands or an offset spatula.
8. Bake for 20 to 25 minutes, or until the edges turn golden and a toothpick inserted into the center comes out with a few moist crumbs attached.
9. Allow the bars to cool completely in the pan before using the parchment overhang to lift them out and cut into squares.
Ready to share these gooey bars? Here are four fun ways to serve them perfectly:
These S’mores Cookie Bars are already a crowd-pleaser, but a few friendly tricks will elevate them even more. Pressing the dough evenly ensures every square bakes at the same rate and cuts beautifully. If your little marshmallow peaks start to toast before the center’s done, covering with foil mid-bake will shield them. To keep that newly baked gooey goodness fresh, store at room temperature in an airtight container. And for marshmallow lovers? Pop a few extra on top right after baking so they melt into golden, squishy clouds.
Once you’ve pulled these bars from the oven, let’s talk storage so every bite stays as memorable as the first:
Have a question? You’re not alone—here are the answers you need:
The bars are done when the edges turn a light golden brown and a toothpick inserted into the center comes out with a few moist crumbs attached. If the toothpick is completely wet with batter, bake for an additional 2–3 minutes and check again.
Yes, you can use salted butter, but omit or reduce any additional salt in your recipe if necessary. Since this recipe already calls for 1 teaspoon of salt, you may want to decrease it to ½ teaspoon to avoid overly salty results.
Line your 9x13-inch pan with parchment paper leaving a 2-inch overhang on each side. After mixing, use an offset spatula or your hands (lightly dampened to prevent sticking) to press the dough evenly into all corners and edges. An even thickness ensures uniform baking and makes it easier to lift the entire block out for slicing.
If you notice the marshmallows browning before the bars are fully baked, loosely drape a piece of aluminum foil over the top halfway through the baking time. This shields the marshmallows while allowing the center to continue cooking.
Yes. You can refrigerate the assembled dough in the lined pan (covered) for up to 24 hours and then bake as directed. For cooling bars, wrap individual cooled squares in plastic wrap and store in an airtight container in the freezer for up to 2 months. Thaw at room temperature for 30–60 minutes before serving.
Once cooled, store the bars in an airtight container at room temperature for up to 3 days. For extra gooey marshmallows, press a few fresh mini marshmallows onto the surface immediately after baking and let them set before covering.
You can replace half of the all-purpose flour with whole wheat flour for added fiber, though the texture may be slightly denser. To make them gluten-free, use a 1:1 gluten-free flour blend and ensure your graham cracker crumbs are gluten-free. Dairy-free butter substitutes can be used, but results may vary in flavor and consistency.
What puts these S’mores Cookie Bars in the hall of fame? They’re the perfect mash-up of nostalgic campfire flavors—crunchy graham, molten chocolate, and pillowy marshmallow—all in one easy-bar form. They’re beginner-friendly but feel like a gourmet treat, so go ahead and print this recipe, stash it in your cookbook, and get ready for endless compliments. Tried it? Let me know how your bars turned out or drop any questions below—I’m here to help you nail that gooey, golden-baked perfection!
Crunchy edges meet pillowy marshmallow pockets and melted chocolate swirls over a buttery graham-infused base, each bite capturing campfire nostalgia and gooey charm.

Hey there, kitchen adventurers! I'm Annie Parker, and welcome to my cozy corner of the internet where homestyle cooking meets creative twists, and every recipe is designed to make your life a little more delicious.