
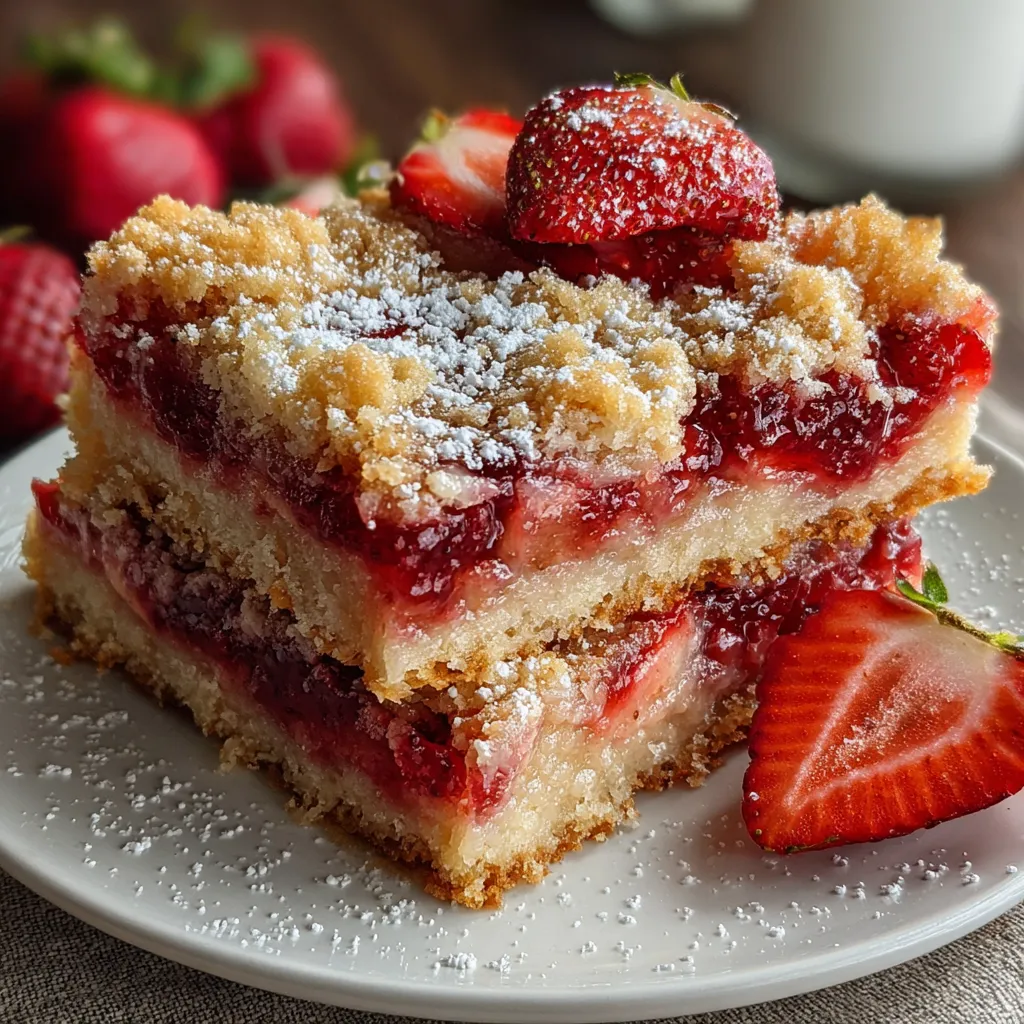
Strawberry Pie Bars pack a bright ribbon of ruby strawberries wrapped in a buttery crumb crust, bringing summer sunshine to every bite. A crisp golden crust gives way to juicy strawberry filling dusted with sweet crumbs, offering a perfect balance of tart fruit and buttery texture in every handheld square. Whether you’re craving a spring dessert or a homemade sweet treat, this beginner-friendly recipe is guaranteed to brighten your day—so grab your apron and let’s bake!
Let’s gather the simple staples that turn into these irresistible Strawberry Pie Bars.
This recipe breaks down into easy stages: building a golden crumb base, tossing strawberries in sugar and cornstarch, layering everything, and baking until bubbly. Each step is designed for simplicity, even if you’re brand-new to baking—just follow along and enjoy the process!
1. Preheat the oven to 350°F (175°C) and line an 8×8-inch baking pan with parchment paper, leaving an overhang on two opposite sides for easy lifting.
2. In a large bowl, combine the all-purpose flour, 1/2 cup granulated sugar, and salt, stirring until evenly blended.
3. Use a pastry cutter or fork to cut the cold, cubed butter into the flour mixture until it resembles coarse crumbs—working quickly keeps the butter cold for a tender crust.
4. Press half of the crumb mixture firmly and evenly into the bottom of the prepared pan, creating a smooth base, then bake for 15 minutes or until the edges are lightly golden.
5. While the crust bakes, in another bowl toss the sliced strawberries with 1/4 cup granulated sugar, cornstarch, and lemon juice until each piece is coated.
6. Remove the hot crust from the oven and spread the strawberry mixture in an even layer over the par-baked base.
7. Sprinkle the remaining crumb mixture on top of the berries, then return to the oven for 25–30 minutes, until the topping turns golden and the filling looks bubbly.
8. Let the bars cool completely in the pan on a wire rack, then use the parchment overhang to lift them out before cutting into neat squares.
Once your bars are cooled and sliced, you can serve them in all kinds of fun ways. Whether you’re hosting a backyard gathering or enjoying a quiet afternoon snack, these ideas will elevate every bite.
These Strawberry Pie Bars are delightfully simple, but a few insider tricks can take them from great to show-stopping. Whether you’re using garden-fresh berries or frozen stand-ins, I’ve learned that managing moisture, flavor boosts, and temperature control can make all the difference. Read on for my favorite tips, honed after countless kitchen experiments and tasting sessions with friends—so your bars come out perfectly every time!
After you’ve baked and enjoyed these bars, you’ll want to keep any leftovers at their optimal freshness. Proper storage preserves that buttery crust and keeps the filling perfectly set, so you can reach for a sweet treat throughout the week without losing flavor or texture. Here are a few simple ways to store them:
Here are answers to the most common queries about these Strawberry Pie Bars:
A: Preparing the crust and strawberry filling takes about 20 minutes total—15 minutes to make the crumb base and 5 minutes to toss the strawberries—followed by 15 minutes of baking the crust and 25–30 minutes for the assembled bars, for a total baking time of 40–45 minutes. Including cooling, plan on about 1⅓ to 1½ hours from start to table.
A: Yes, you can substitute frozen strawberries. Thaw them completely, drain off any excess liquid, and gently pat them dry with paper towels before tossing with sugar, cornstarch, and lemon juice to prevent a soggy filling.
A: Store cooled bars in an airtight container in the refrigerator for up to 3 days. For the best texture, allow them to come to room temperature or serve chilled straight from the fridge.
A: Press half the crumb mixture firmly into the pan for the crust, then sprinkle the remaining mixture evenly over the filling. If the topping browns too quickly, tent the pan loosely with foil for the final 10 minutes of baking to ensure the filling finishes cooking without over-browning the crumbs.
A: Runny filling often means the cornstarch ratio is too low or the strawberries released excess juice. Next time, increase the cornstarch to 1½ tablespoons or drain and reserve some strawberry juices before mixing to achieve a thicker, jam-like consistency.
A: For richer flavor, stir 1 teaspoon of vanilla extract into the crust mixture before pressing it into the pan. You can also replace 2 tablespoons of the flour with finely ground almond meal for a nutty aroma and extra tenderness.
A: Let the bars cool completely in the pan, then refrigerate for at least 1 hour. Use a sharp knife dipped in hot water and wiped dry between cuts to slice cleanly without dragging crumbs or filling.
A: Yes, double all ingredients and press into a lightly greased 9x13-inch pan. Bake the crust for 15–18 minutes until lightly golden, then assemble and bake the full bars for 30–35 minutes, or until the topping is golden and the filling bubbles along the edges.
These Strawberry Pie Bars deliver all the joy of a classic summer pie in fun, handheld squares—perfect for backyard BBQs or cozy nights in. The buttery crumb crust, tangy-sweet strawberry core, and just a hint of lemon make every bite feel like a mini celebration. With straightforward steps and flexible tips, this recipe is foolproof for beginners and seasoned bakers alike. Go ahead, print this article, save it for your next baking adventure, and don’t forget to share your results, questions, or fun strawberry stories in the comments below!
A crisp golden crust gives way to juicy strawberry filling dusted with sweet crumbs, offering a perfect balance of tart fruit and buttery texture in every handheld square.

Hey there, kitchen adventurers! I'm Annie Parker, and welcome to my cozy corner of the internet where homestyle cooking meets creative twists, and every recipe is designed to make your life a little more delicious.