
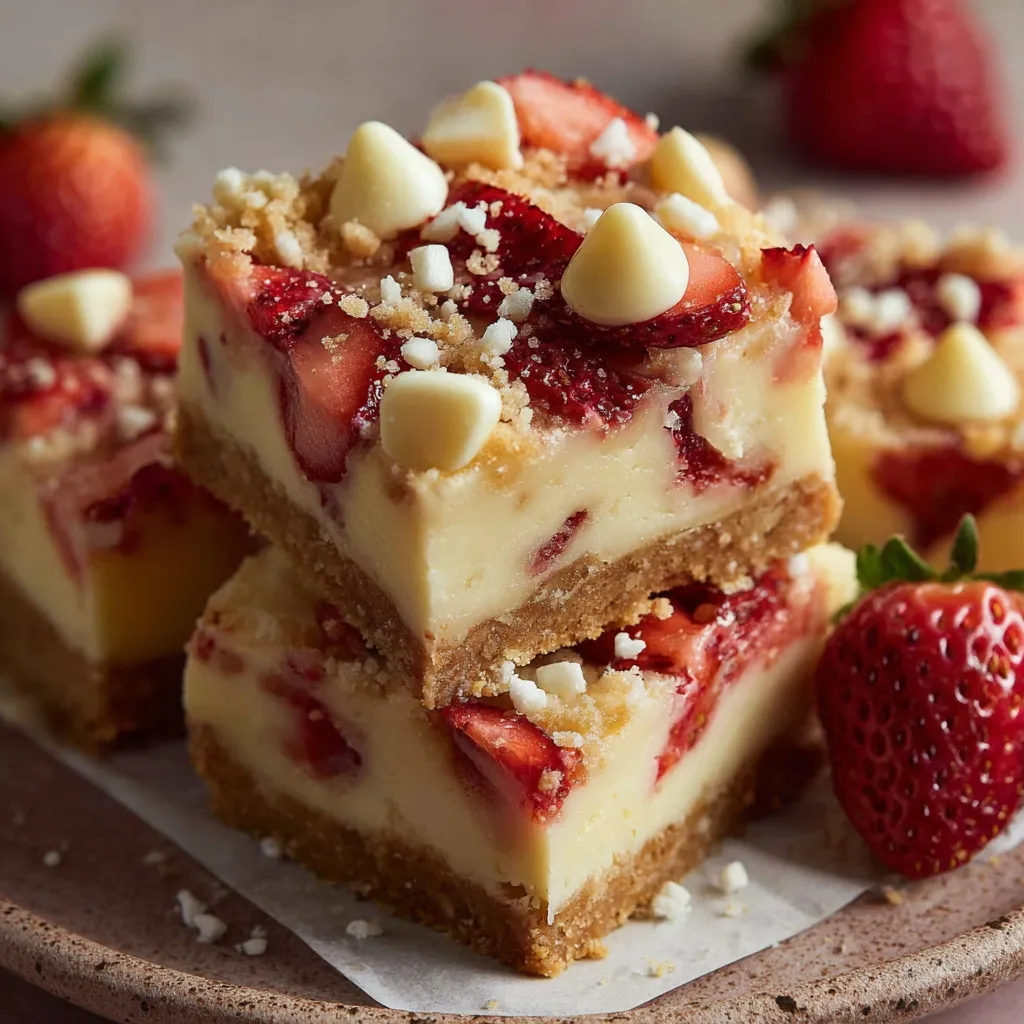
White Chocolate Strawberry Cheesecake Bars are a dreamy mash-up of velvety white chocolate and bright strawberry puree, layered over a crisp graham cracker crust. Each bite bursts with creamy cheesecake swirled in marbled pink and white ribbons, bringing a splash of color and flavor to your dessert table. Whether you’re baking for brunch or treating yourself on a cozy afternoon, these bars are easy enough for a diligent home baker and impressive enough to wow any crowd—get ready to fall in love!
Crafting these White Chocolate Strawberry Cheesecake Bars begins with a few simple components that each play a star role in flavor and texture.
These bars come together in just a few stages: baking the crust, whipping up two cheesecake batters, swirling in fresh strawberry puree, and baking until perfectly set. You’ll learn how to achieve that gorgeous marble effect and get tips on timing so the texture is silky yet firm.
1. Preheat your oven to 160°C and line a 20 cm square baking pan with parchment paper, leaving an overhang for easy removal.
2. In a mixing bowl, combine the graham cracker crumbs, 50 g sugar, and melted butter, then press firmly into the bottom of the pan. Bake for 10 minutes, then let the crust cool completely.
3. In a stand mixer or with a handheld mixer, beat the softened cream cheese and 100 g sugar until smooth and lump-free. Add the eggs one at a time, beating well after each addition. Mix in the vanilla extract and sour cream until fully combined.
4. Place the white chocolate chips in a heatproof bowl over simmering water or microwave in 15-second bursts until melted. Let the chocolate cool slightly, then fold it into half of the cheesecake batter.
5. In a blender, puree the chopped strawberries with 2 tbsp sugar and lemon juice until silky. Pour half of the plain cheesecake batter over the cooled crust, layer with the strawberry puree, then swirl gently with a knife. Top with the white chocolate cheesecake batter, creating a marbled effect.
6. Bake for 30–35 minutes, or until the edges are set and the center is slightly jiggly. Turn off the oven, crack the door open, and let cool inside for 1 hour.
7. Transfer to the refrigerator and chill for at least 4 hours or overnight. Use the parchment overhang to lift the bars out, cut into squares, and serve.
These bars are so versatile you’ll want to try them at every gathering! Serve them chilled for clean slices, or let them warm to room temperature for extra creaminess. They’re perfect for summer picnics, holiday parties, or a simple family dessert.
Nailing these swirled bars is all about temperature control and patience, but once you see that gorgeous marble pattern, you’ll know it was worth the wait. Whether you’re a cheesecake veteran or a first-timer, these friendly pointers will ensure smooth batter, crisp cuts, and show-stopping results every time.
Keeping your cheesecake bars fresh and delicious is simple when you follow a few best practices. Proper storage helps maintain that silky texture and vibrant strawberry flavor, so you can enjoy these treats all week long.
Here are answers to common questions so you can bake with confidence and get the best possible results every time.
A: Using room temperature cream cheese ensures a smooth, lump-free batter. Cold cream cheese can resist mixing and lead to clumps in the cheesecake, so let it sit at room temperature for at least 30 minutes before beginning.
A: Melt the white chocolate slowly either over a double boiler or in the microwave in 15–20 second bursts, stirring between each interval. Allow the melted chocolate to cool slightly before folding it into half of the cheesecake batter; this prevents the residual heat from cooking the eggs and ensures a silky texture.
A: Pour half of the plain cheesecake batter over the cooled crust, then spoon the strawberry puree in an even layer. Using an offset spatula or the back of a spoon, lightly swirl the puree. Top with the white chocolate–folded batter and drag a thin knife through both batters in an “S” or figure-eight pattern to achieve a balanced marble look.
A: The edges of the bars should appear set and slightly puffed, while the center remains slightly jiggly when you gently shake the pan. After baking for 30–35 minutes, turn off the oven, crack the door open, and let the bars rest inside for 1 hour to finish setting without overbaking.
A: Yes, you can use frozen strawberries. Thaw them completely, drain any excess liquid, then pat dry before pureeing to prevent the cheesecake from becoming too watery. You may need to reduce the added sugar slightly if the berries are very sweet.
A: Chill the assembled bars in the refrigerator for at least 4 hours or overnight to firm up fully. Use a sharp, thin-bladed knife dipped in hot water and wiped dry before each cut; this helps slice through cleanly and prevents sticking or tearing.
A: Store cooled bars in an airtight container in the refrigerator for up to 5 days. For longer storage, wrap individual squares tightly in plastic wrap and freeze for up to 1 month—thaw overnight in the refrigerator before serving.
There’s nothing quite like biting into a bar that balances sweet white chocolate, tangy strawberries, and a buttery crunch all at once. These cheesecake bars work because each layer—crisp crust, smooth cheesecake, fruit puree, and chocolate swirl—brings its own magic to the party. They’re fun to make, even more fun to eat, and perfect for sharing (or not!). Snap a photo, print this guide, stash it in your recipe binder, and let me know how your swirls turned out or if you have any questions!
Strawberries swirl through velvety white chocolate cheesecake atop a buttery graham crust. Each bite offers a contrast of silky cream cheese, sweet fruit puree, and crisp crumbs for a lively, colorful treat.

Hey there, kitchen adventurers! I'm Annie Parker, and welcome to my cozy corner of the internet where homestyle cooking meets creative twists, and every recipe is designed to make your life a little more delicious.